Ideas by Bridgeable
How a rabbit and a cube of butter helped us run our biggest workshop yet!
Planning and executing a workshop with this number of people was a great learning experience for our entire team. Not only confined to large scale events, the strategies we used have also carried forward into our more standard sized workshops. At the core, it’s all about creating a comfortable environment for participants to share ideas, no matter what the size of the group.
Author

Bridgeable recently conducted one of our largest sessions: a co-creation workshop with 100 participants! While standard workshop planning emphasizes the participant’s experience, this situation required us to really focus on the facilitator’s experience as well.
Our first priority was to turn the group of 100 participants into something manageable. We began by dividing everyone into smaller groups, so we could break out and run effective activities. We settled on ten groups of ten participants, with two facilitators assigned to each.
This meant that we had to prepare twenty facilitators to conduct a workshop they were not closely involved with planning. Through this process, we developed eight tips for conducting a workshop — including rabbits and butter cubes!
1. Create intentional pairs of facilitators
When pairing up facilitators, we considered their unique skill-sets, experience, and personalities. At Bridgeable we have so many talented individuals who come from a variety of different backgrounds, and pairing them strategically was a huge factor in our success.
Collaboration was key — facilitators didn’t need to be besties, but being able to depend on each other during this monumental workshop was mandatory.
We also ensured each pair had a balance of speaking and design skills. This allowed facilitators to focus on their expert skill-sets during the session, without worrying about their weaknesses causing the group to fall behind.
“It was great to have a designer on the team, it allowed me to focus on probing questions rather than drawing — which is not my strongest skill!” — Facilitator
Facilitation experience was another important factor in our pairings. We teamed more experienced facilitators with rookies, so they felt comfortable in a new environment and could help each other when needed.
Once we had our facilitators paired, we needed to equip them to complete their mission. Enter the facilitation guide!
2. Give your facilitators a playbook
A workshop with 100 people and twenty facilitators can quickly turn into chaos. Going in without a plan runs the risk of not getting what you need out of the session.
To get everyone on the same page, we created a facilitation guide. These guides inform facilitators of the workshop objectives, agenda and scheduling details, getting everyone aligned and oriented.

Besides the scheduling details, we included a few extra must haves to make a facilitation guide even more effective: A diagram of the room layout gave facilitators an opportunity to plan the space ahead of time. Descriptions and diagrams of the workshop materials and templates broke down the details of the tools at the workshop. A verbatim script, key insights about participants, and examples of probing questions helped facilitators feel confident in their conversations.
“Very well-written and detailed! The verbatim sections were great, especially coming in as a facilitator with no background.” — Facilitator
We circulated the guides to the facilitators in advance so they had the opportunity to review it in detail and ask questions.
*Tip: if you punch a hole in the notebook and connect it to a lanyard, facilitators can wear it around their next throughout the workshop!
3. Practice, practice, practice
Roleplay is an effective way to boost confidence in communication. It allows you to practice both verbal and non-verbal skills, and also prepares you for unknown or uncomfortable situations (such as facilitating a co-creation workshop).
We made sure to set aside time to roleplay scenarios with our facilitators leading up to the workshop. Some practiced the role they would actually play during the workshop, and others played the role of the participants. Together they completed the actual activities, templates, and materials we would be using in our workshop. This allowed our facilitators to get comfortable with the material and plan ahead. Most importantly, it forced them to think about the perspectives of the participants.
“I felt so much more comfort leading my group after roleplaying parts of the workshop.” — Facilitator
4. Set the ground rules
Workshops are notorious for those participants who derail important conversations. Disruptors seem to enjoy jumping in when others speak, trying to take over the process. Here are our rules that we used to avoid these unproductive conversations and stay in control of our workshop:
The “Rabbit Hole” Rule: It’s great when participants are passionate about their ideas. But what do you do when someone hijacks the activity, and won’t let others share their ideas? Toss them a rabbit — ideally a toy rabbit. A stuffed, fluffy bunny placed in front of a disruptive person is a good natured signal for them to write down their idea and move on. This prevents them from dominating the activity and taking everyone down the rabbit hole with them.

The “No Butter” Rule: Imagine you’re in a generative meeting and every time someone floats a new idea, someone else says “stop, no, but…”. This impedes the development of new ideas, discouraging participants to take part.
Our solution to this issue is, if someone begins to “no but” a teammate, they become a recipient of a butter cube (fake, preferably). This informs them to encourage other voices to speak, that they can’t be a “no but-ter”. Instead, urge these no but-ters to think about “YES-AND-ING” their colleagues to collaborate and build on the ideas of others.
The “No Electronic Devices” Rule: It can be quite frustrating when you’re trying to facilitate and participants are constantly checking their devices. Inform participants that they will have breaks to check their electronic devices. However, they are to refrain from using phones and other devices throughout the workshop, unless there is an emergency, as co-creation depends on participants on being present and engaged.
“These rules actually worked! Who knew a toy rabbit and paper cube would be so effective?” — Facilitator
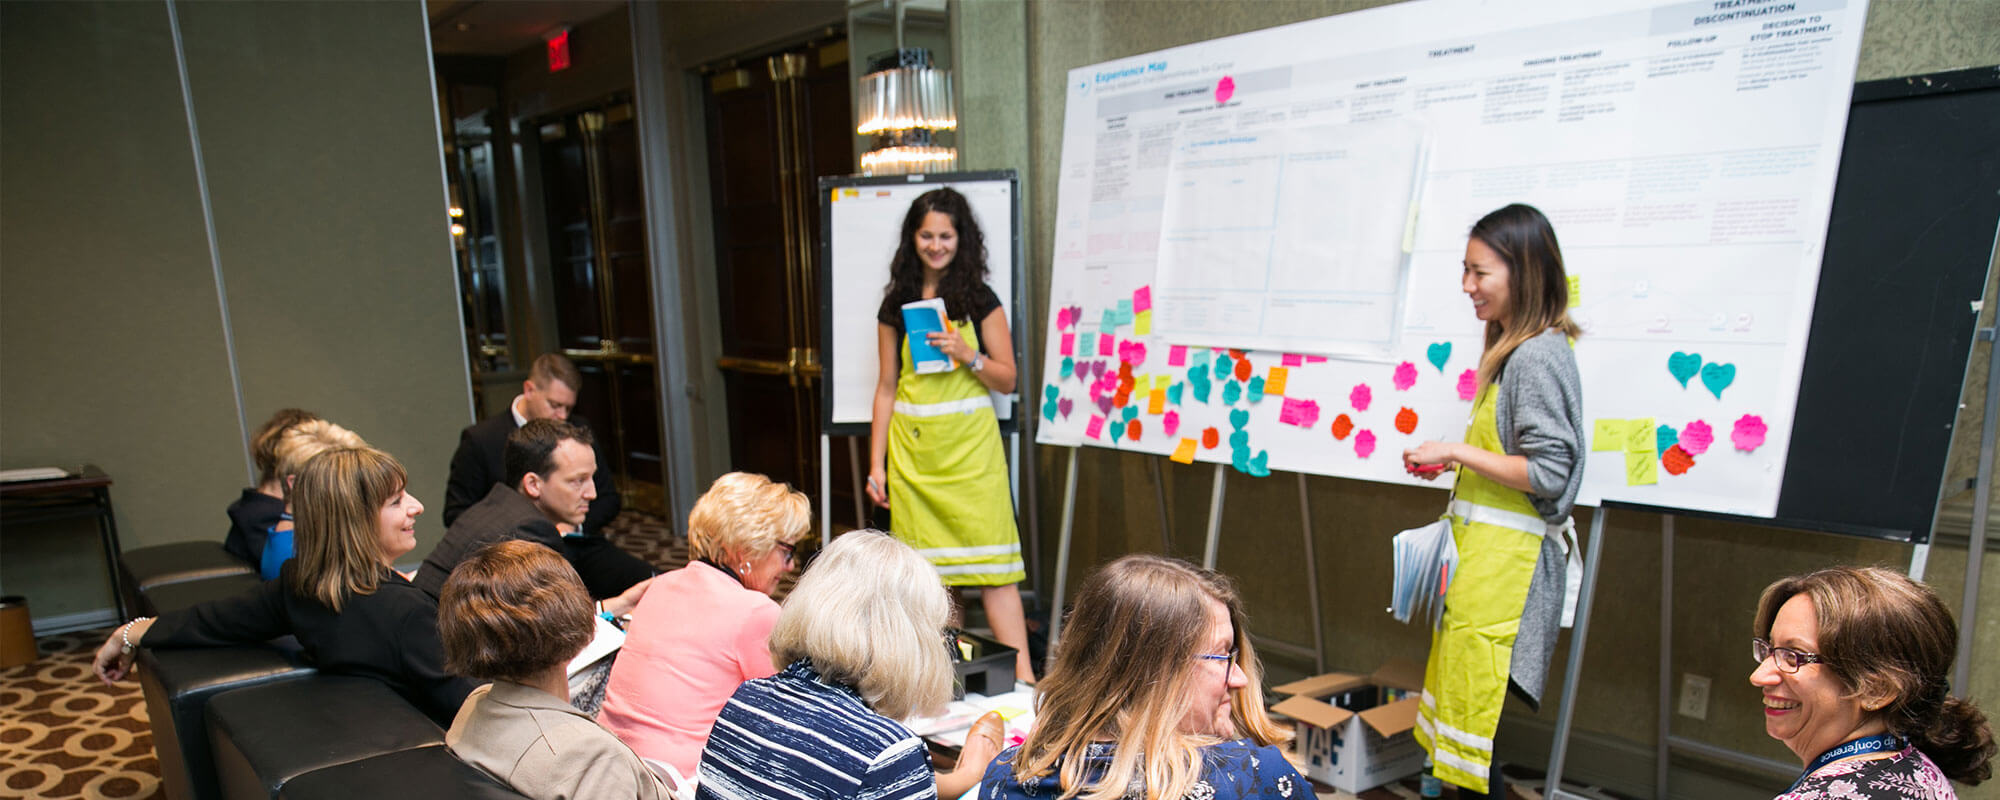
5. Give your team a uniform

With over 100 people in a room, we needed a clear way to distinguish our facilitators from the participants. We could have gone with a particular colour of t-shirt, but where’s the fun in that? Since our client wanted to see something out of the ordinary, we created customized green aprons. They made facilitators stand out in a crowd, and also had handy pockets to store sharpies and sticky note pads. Finally, we added hand-drawn name-tags to add a bit more fun to what could have been another dry workshop.
“The pockets on the aprons were a great place to store my sharpies, sticky notes, and facilitator guide!” — Facilitator
6. Put your tools in a toolbox

Our co-creation workshop had a prototyping component, where we required participants to get hands-on and creative. This meant that we had to supply each breakout session with art supplies, (e.g., paper, glue, tape, scissors, sticky notes, etc.,). The space we were working in only had small tables for each group, so keeping things organized would be a challenge. The last thing we needed was each table to become a heap of markers and sticky notes!
We used caddies — small storage containers with a handle — to store our supplies on tables in a neat, organized manner. It also was incredibly helpful for cleanup at the end of the session, since we could quickly pack away the supplies again.
“Setup and cleanup was a breeze because we quickly put all of our supplies in the caddy!” — Facilitator
7. Use a sign to organize participants

One of the biggest challenges of a large workshop is getting people to organize in a coordinated and timely manner. How could we quickly and painlessly move 100 people from a large auditorium to into ten smaller breakout groups? We used a simple and basic tool: a sign! We simply printed out a number and attached it to a long dowel. These signs were incredibly effective in guiding participants to their breakout groups. As a bonus, they served as a great way to signal attendees when to return from their breaks.
“Who knew a simple sign would be so effective!” — Facilitator
8. Create a productive space
Seating arrangements can make or break the experience.
In a perfect world, each breakout group would have its own large, soundproof room. In our workshop, this was not the case. We did our best with the space we had, arranging groups as far from each other as possible. We minimized noise by hanging curtain barriers, blocking conversations from drifting between groups.
Within each group, we created a comfortable environment for our participants by seating them in a semi-circle around our activity. This allowed them to see all our templates, hear fellow participants and facilitators, and interact with the activities. Thinking carefully about how best to arrange participants makes a big difference to their experience.
Running a workshop at scale
Planning and executing a workshop with this number of people was a great learning experience for our entire team. Not only confined to large scale events, the strategies we used have also carried forward into our more standard sized workshops. At the core, it’s all about creating a comfortable environment for participants to share ideas, no matter what the size of the group.
Author